Winter is notorious for bringing chilly drafts into our homes, turning cozy spaces into uncomfortable areas. Insulation window films have gained popularity as a potential solution to mitigate these drafts. But are they truly worth the investment? In this article, we explore the benefits of insulation window films and whether they are a viable option for keeping your home warm during the winter months.
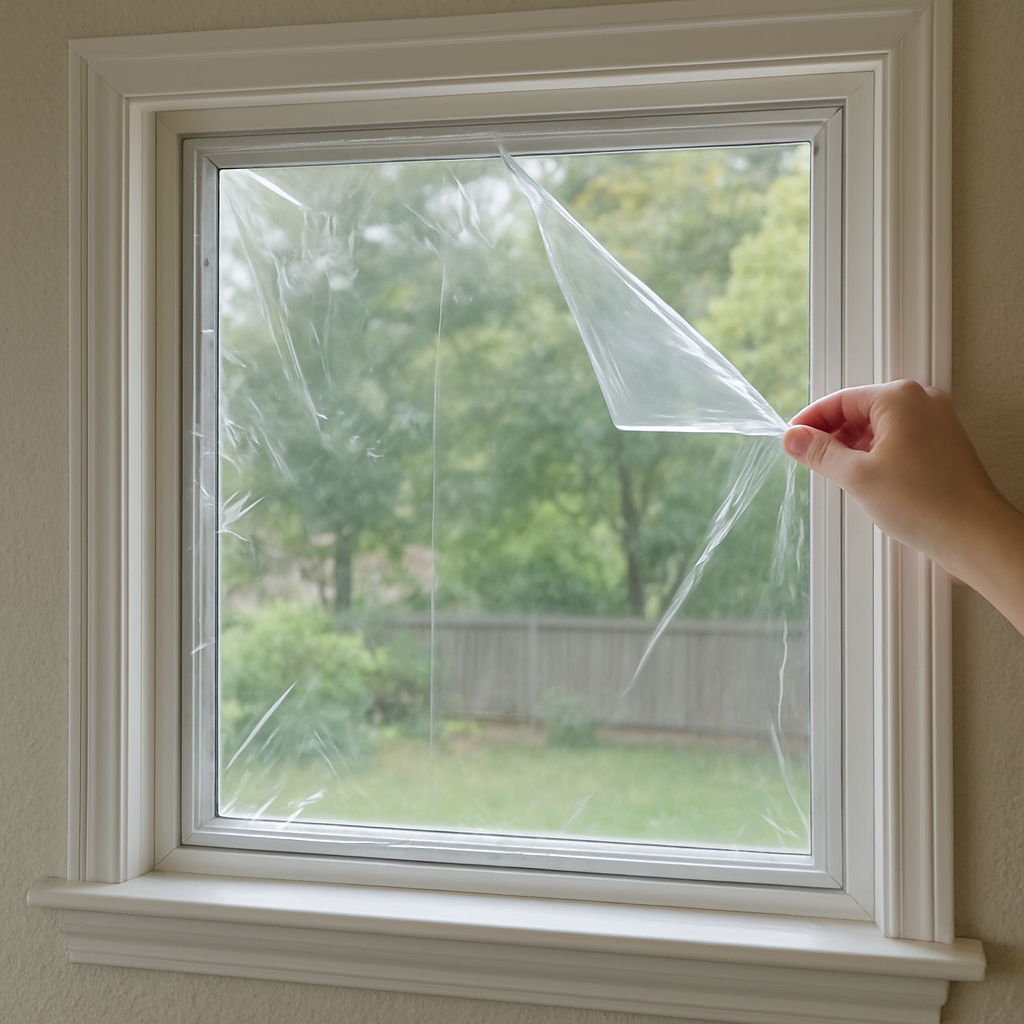
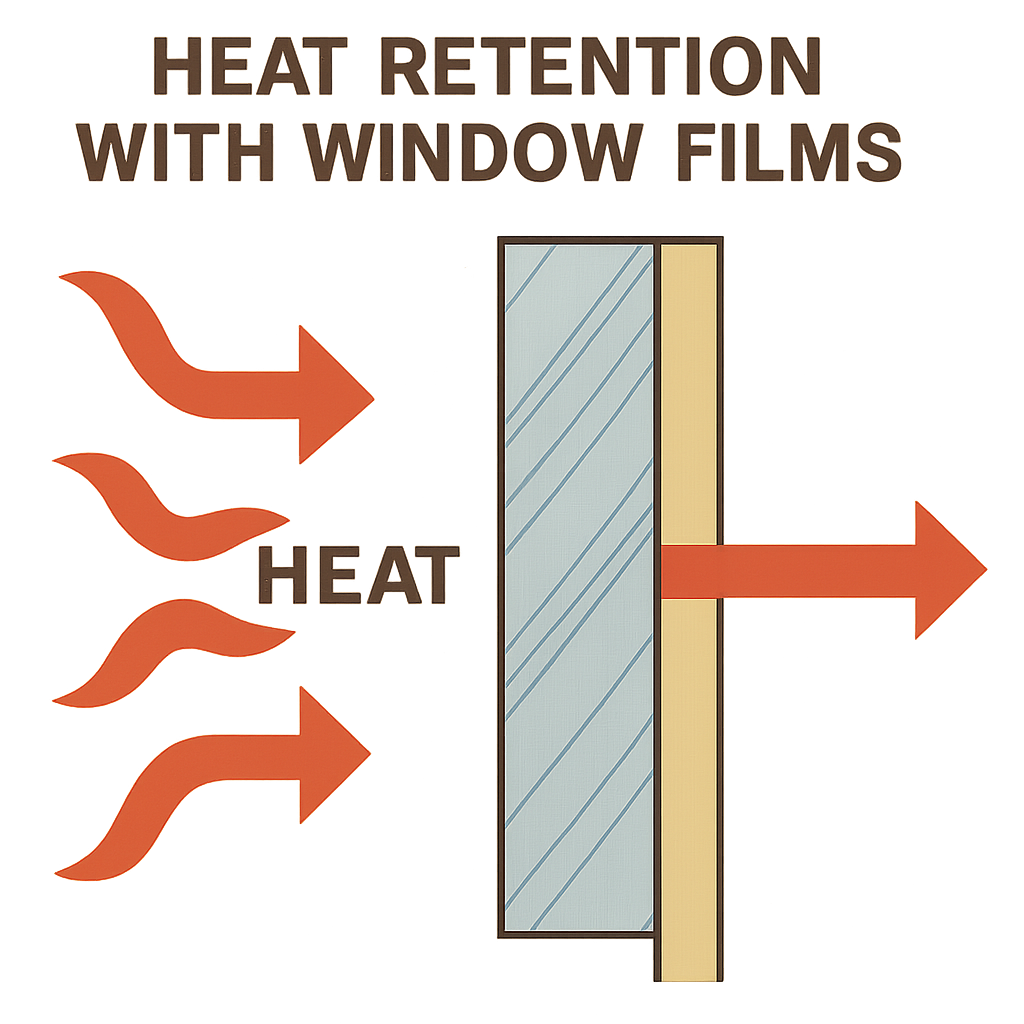
Insulation window films are thin layers of material applied to the interior surface of windows. They are designed to enhance a window’s energy efficiency by reducing heat loss and blocking cold air from entering the home. These films work by reflecting heat back into the room, maintaining a warmer indoor environment. According to the U.S. Department of Energy, properly selected window treatments can significantly improve insulation and reduce heat transfer.
How Do They Work?
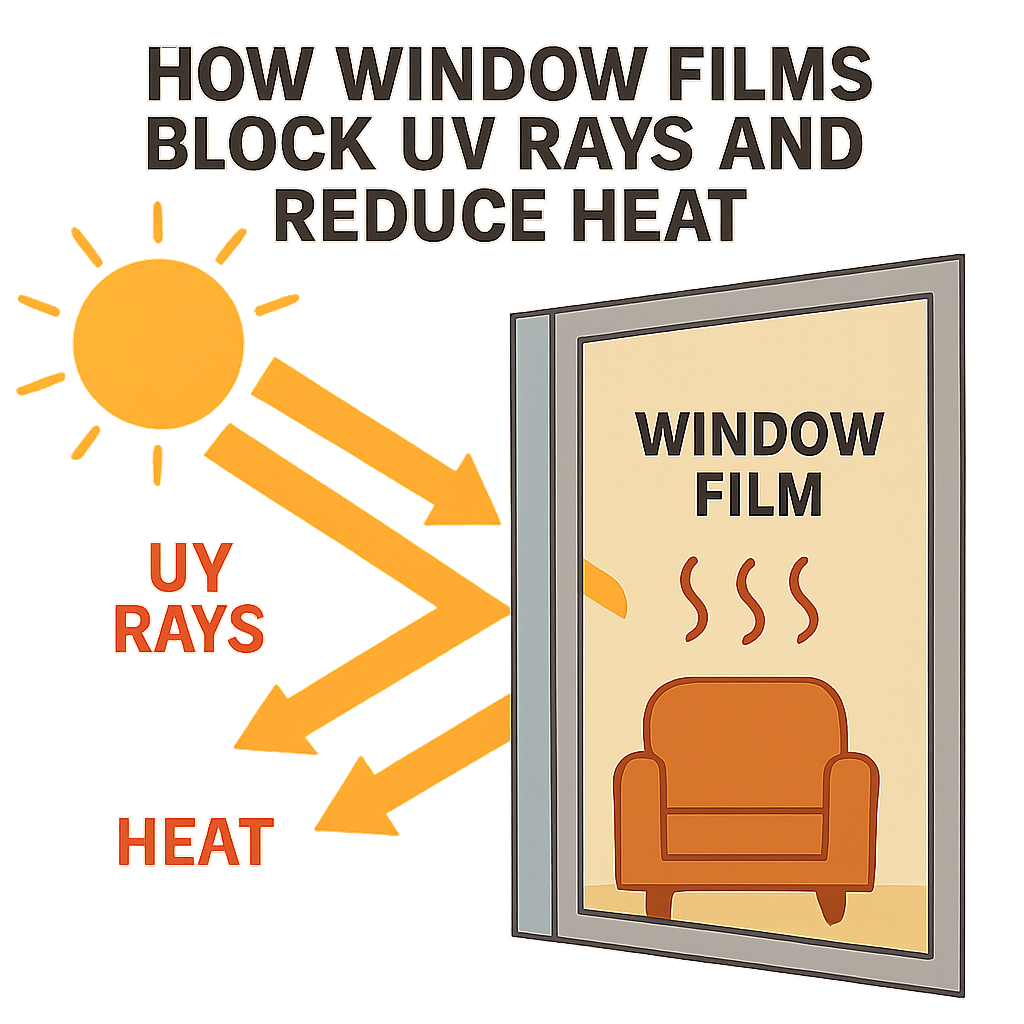
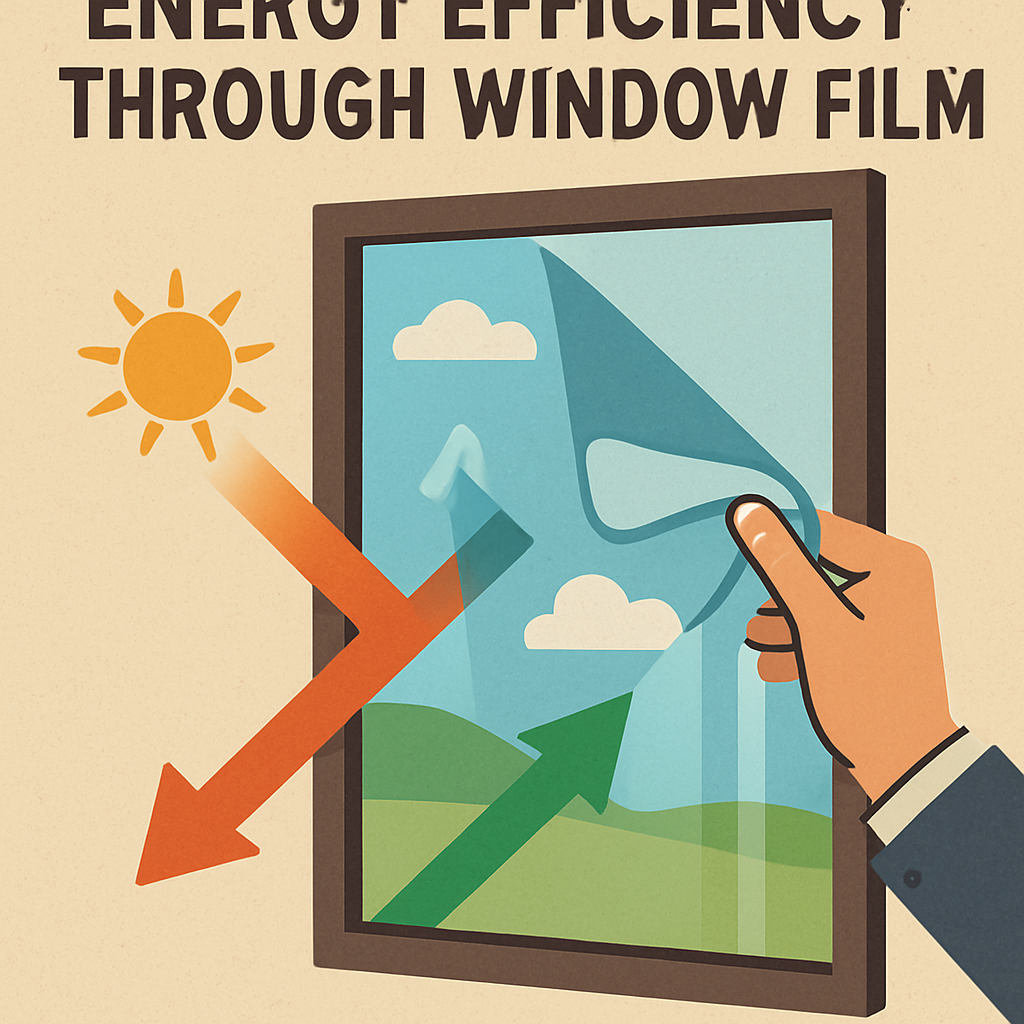
Window films act as a barrier against temperature fluctuations. During winter, they help trap heat inside the home, reducing the reliance on heating systems. In the summer, they reflect solar heat away, keeping interiors cooler. This dual-purpose functionality makes them a year-round investment for energy efficiency. Homeowners in Canada can also explore guidance from Natural Resources Canada regarding energy-efficient home improvements.
The Benefits of Insulation Window Films
Energy Efficiency
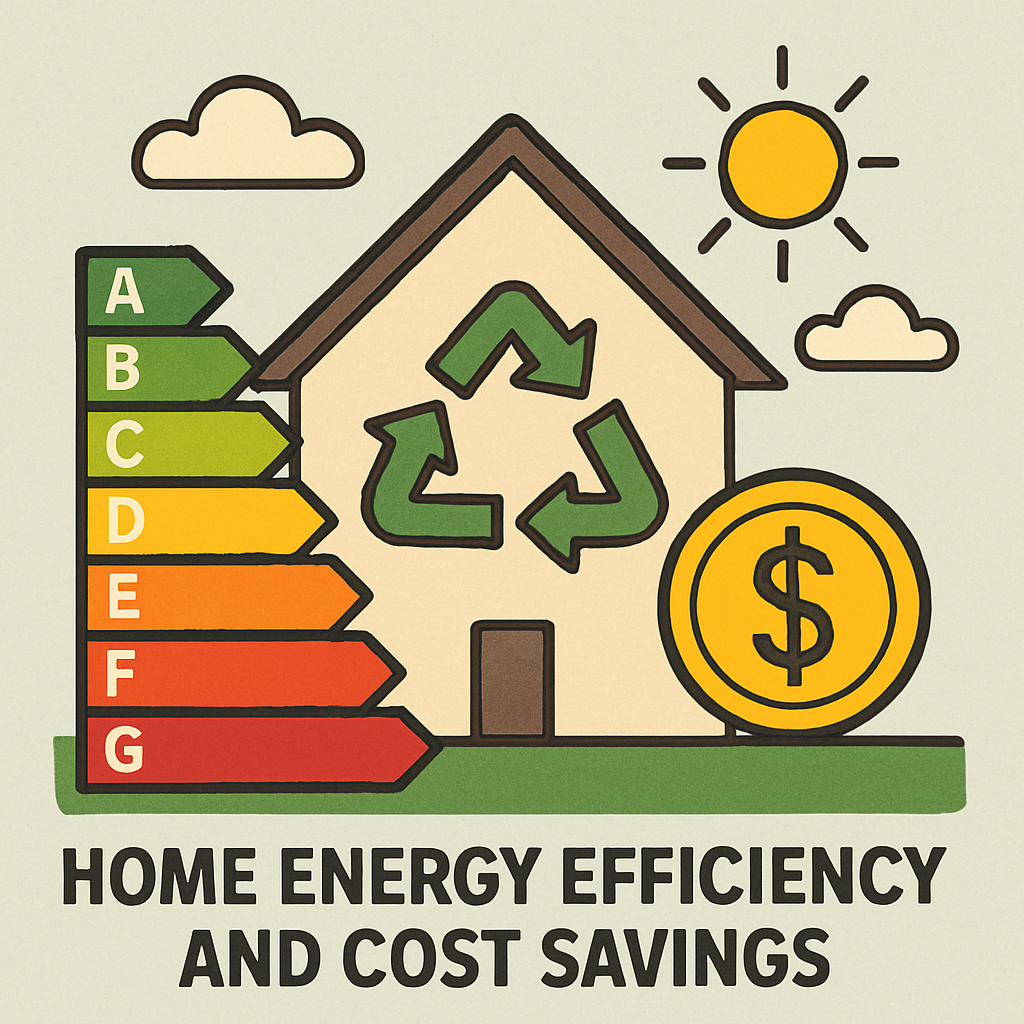
One of the primary advantages of insulation window films is their ability to improve energy efficiency. By minimizing heat loss through windows, these films can reduce heating costs during winter. This can lead to significant savings on energy bills, making them a cost-effective solution for homeowners looking to cut expenses.
Enhanced Comfort
Drafty windows can make living spaces uncomfortable, as cold air seeps in and warm air escapes. Insulation window films help maintain a consistent indoor temperature, eliminating chilly drafts and enhancing overall comfort. This is particularly beneficial in older homes where window insulation may be lacking.
UV Protection
In addition to thermal insulation, many window films offer UV protection. They block harmful ultraviolet rays from entering the home, which can cause fading of furniture, flooring, and artwork. By preserving the integrity of interior elements, window films help maintain the aesthetic appeal of your living space.
Privacy and Security
Some insulation window films also provide added privacy by reducing visibility from the outside. This feature is ideal for ground-level rooms or homes located in busy neighborhoods. Additionally, certain films can enhance window strength, offering extra protection against break-ins.
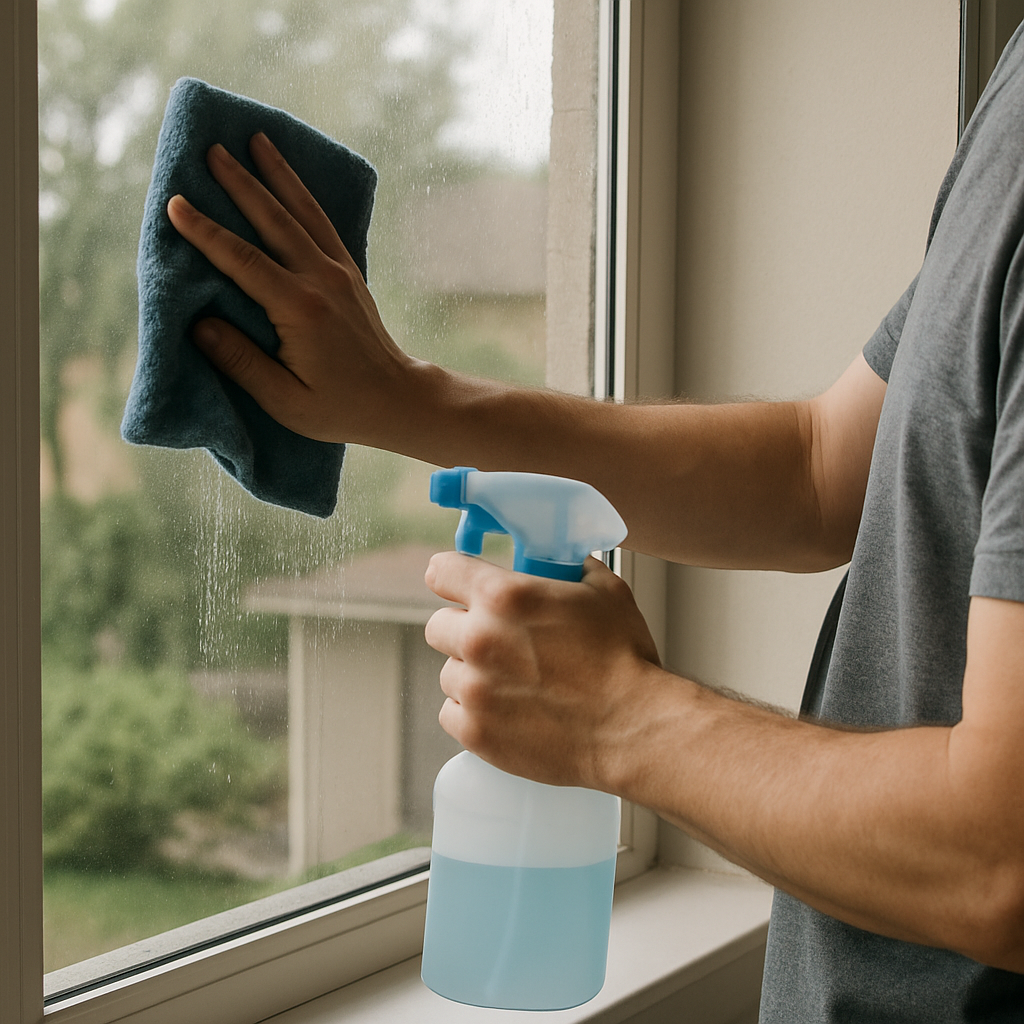
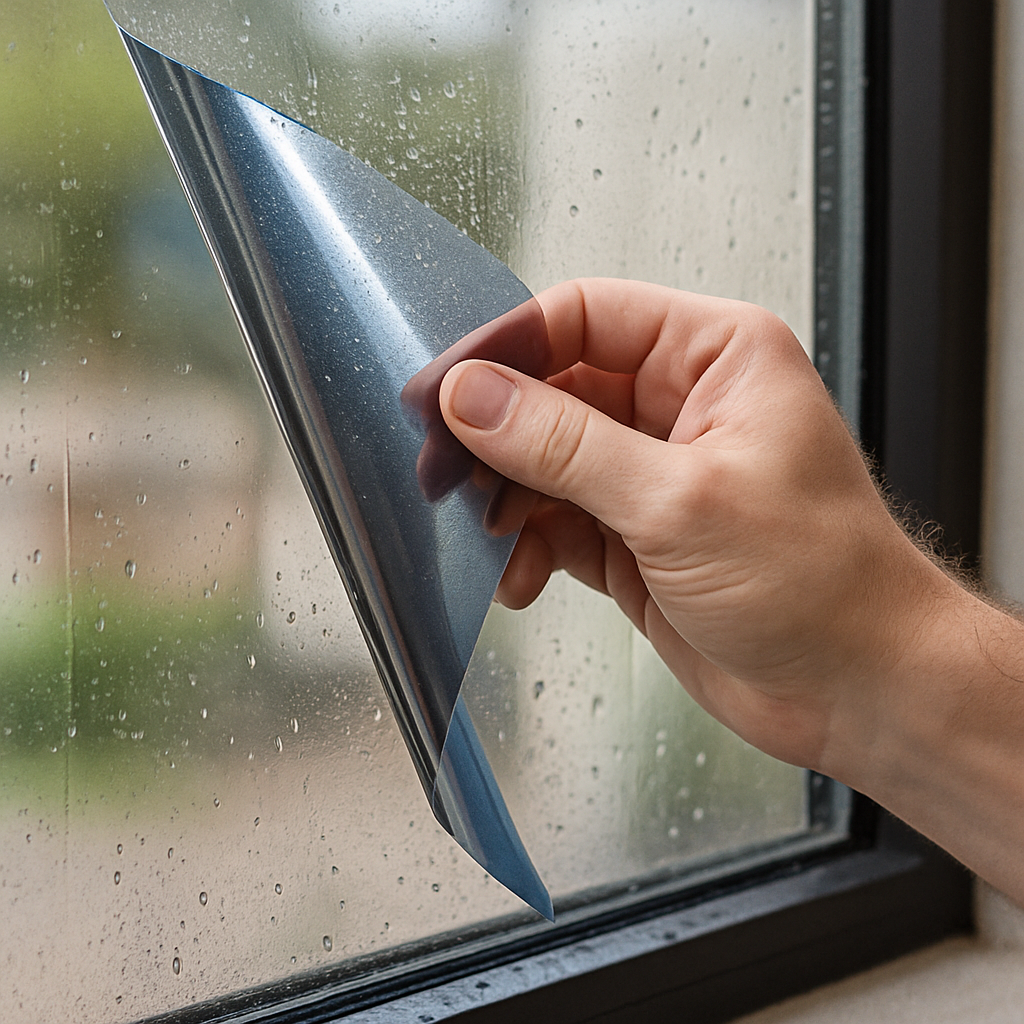
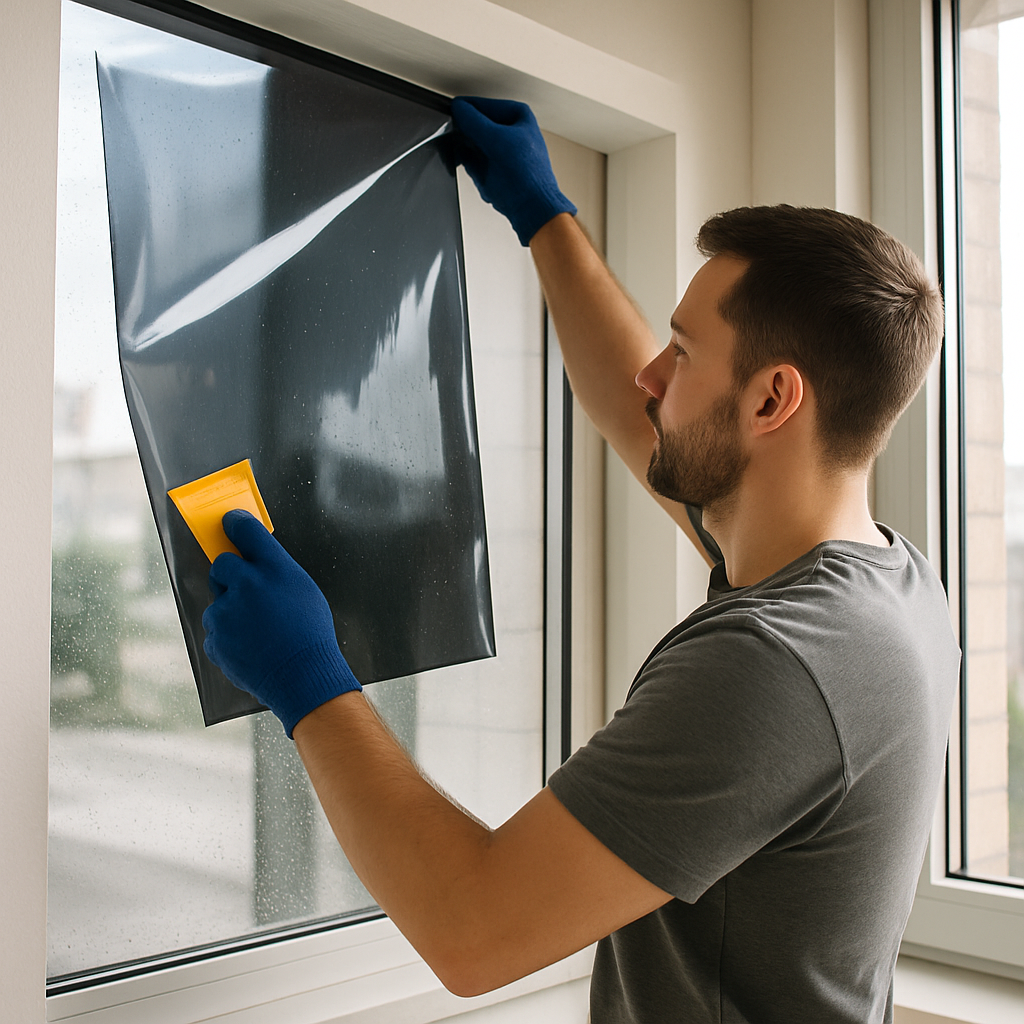
Installation Process
DIY vs. Professional Installation
While some homeowners opt for DIY installation, hiring a professional ensures a flawless finish and optimal performance. Professional installers have the expertise to apply the film evenly, avoiding bubbles and creases that can compromise its effectiveness. Moreover, professionals can recommend the best type of film for your specific needs.
Choosing the Right Film
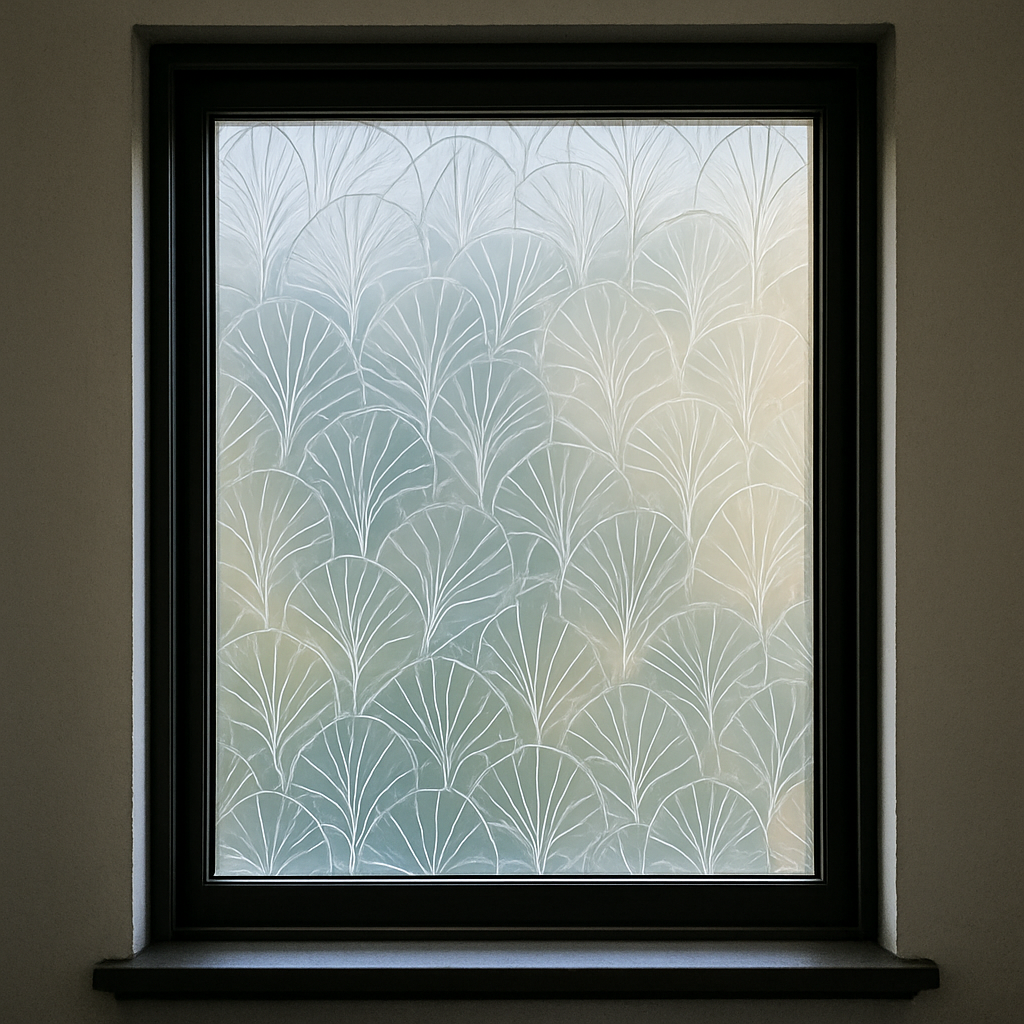
When selecting insulation window films, consider factors such as climate, window orientation, and aesthetic preferences. Films come in various shades and finishes, allowing homeowners to choose based on their desired level of transparency and appearance.
Are Insulation Window Films Worth the Investment?

by Erik Mclean (https://unsplash.com/@introspectivedsgn)
Cost Considerations
The cost of insulation window films varies depending on the size of the windows and the type of film selected. However, the initial investment is often offset by the long-term savings on energy bills. For budget-conscious homeowners, the reduction in heating costs can justify the expense over time.
Environmental Impact
Beyond financial savings, insulation window films contribute to a reduced carbon footprint by lowering energy consumption. By investing in energy-efficient solutions, homeowners can play a part in promoting environmental sustainability.
Aesthetic Appeal
Insulation window films offer a sleek, modern appearance that can enhance the overall look of your home. With various tints and finishes available, they can complement any interior design while providing the functional benefits of insulation.
Limitations
While insulation window films offer numerous advantages, they may not completely eliminate drafts in homes with severely inefficient windows. In such cases, additional measures, like weatherstripping or window replacement, may be necessary to achieve optimal results.
Conclusion
Insulation window films present a practical and effective solution for combating winter drafts. By improving energy efficiency, enhancing comfort, and offering UV protection, they provide a multitude of benefits for homeowners. Although the initial cost may vary, the long-term savings and environmental advantages make them a worthwhile investment. If you’re seeking to create a more comfortable and energy-efficient living space, consider exploring the options available in insulation window films.
In the end, the decision to invest in window films should be based on your specific needs, budget, and the current state of your windows. Consulting with a professional installer can provide valuable insights and ensure you choose the right solution for your home. Whether you’re an interior designer looking to improve energy efficiency for your clients or a homeowner seeking to reduce drafts, insulation window films can be a valuable addition to your home improvement toolkit.