In today’s world, privacy is a luxury that many homeowners desire. One effective way to achieve this without compromising natural light is by using privacy window film. This innovative solution not only enhances privacy but also contributes to energy efficiency and the aesthetic appeal of your home. As an expert in home improvement solutions, I’m here to guide you through the essential steps to using privacy window film one way, ensuring you achieve the best results.
Understanding Privacy Window Film
Before diving into the installation process, it’s crucial to understand what privacy window film is and how it works. Privacy window film is a thin layer of material applied to glass surfaces. It serves multiple purposes, including reducing glare, blocking harmful UV rays, and most importantly, providing privacy by making the glass opaque from one side.
How Does Privacy Window Film Work?
Privacy window film creates a mirror-like effect on the outside, preventing people from seeing in while allowing you to see out. This is particularly useful for spaces like bathrooms, bedrooms, and street-facing windows where privacy is a priority. The key to its effectiveness is the difference in light levels between the inside and outside of the window.
Benefits of Privacy Window Film
The use of privacy window film offers several benefits that go beyond just privacy. Here are some of the advantages:
Enhanced Privacy
The primary benefit is, of course, privacy. One-way window film allows you to maintain clear views from the inside while preventing outsiders from peering in. This is particularly beneficial for homes in densely populated areas or those with large windows facing public spaces.
Energy Efficiency
Privacy window film can also improve your home’s energy efficiency. By reducing the amount of solar heat entering through the windows, it helps maintain a cooler indoor temperature, reducing the reliance on air conditioning and ultimately lowering energy bills. According to the U.S. Department of Energy, window films can significantly reduce heat gain and improve overall home efficiency.
UV Protection
Another significant benefit is UV protection. Window films block up to 99% of harmful UV rays, which can cause fading to furniture, carpets, and artwork. By investing in window film, you’re also protecting your interiors from sun damage. The Environmental Protection Agency (EPA) highlights the long-term risks associated with UV exposure, reinforcing the importance of protective solutions for your home.
Aesthetic Appeal
Finally, privacy window film can enhance the aesthetic appeal of your home. Available in various styles, colors, and patterns, you can choose a film that complements your interior design and adds a touch of elegance to your windows.
Preparing for Installation
Installing privacy window film is a straightforward process, but proper preparation is essential for achieving professional results. Here’s a step-by-step guide to help you prepare:
Step 1: Gather Your Tools and Materials
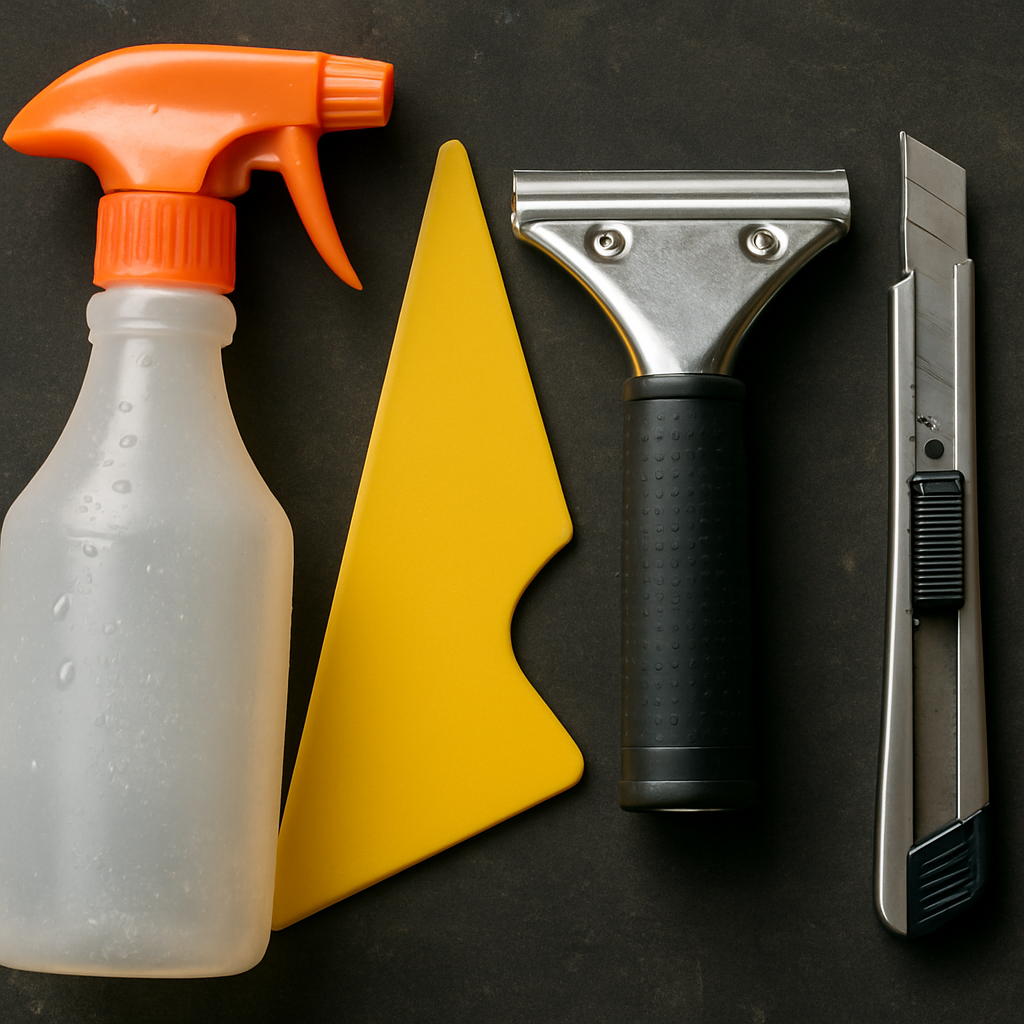
Before you begin, ensure you have all the necessary tools and materials:
- Privacy window film
- Measuring tape
- Cutting tool
- Squeegee
- Spray bottle with soapy water
- Lint-free cloth
Step 2: Measure and Cut the Film
Measure the dimensions of your window glass and cut the film accordingly. It’s advisable to cut the film slightly larger than the window to ensure a perfect fit. You can trim any excess during installation.
Step 3: Clean the Window
Cleaning the window thoroughly is crucial for a smooth installation. Use a lint-free cloth and a glass cleaner to remove any dirt, dust, or grease from the surface. Any debris left on the glass can cause bubbles in the film.
Installing Privacy Window Film
Now that you’re prepared, it’s time to install the privacy window film. Follow these steps for a successful installation:

by Malay Mondal (https://unsplash.com/@suvam_24)
Step 1: Wet the Window
Fill a spray bottle with soapy water and generously spray the window. The soapy water will help you position the film and remove any air bubbles during the application process.
Step 2: Apply the Film
Peel the backing off the privacy film, revealing the adhesive side. Carefully position the film on the wet window, starting from the top and working your way down. Use a squeegee to press the film onto the glass, starting from the center and moving outward to remove any air bubbles.
Step 3: Trim the Edges
Once the film is in place and all bubbles are removed, use a cutting tool to trim any excess film along the edges. Ensure the film fits perfectly within the window frame.
Step 4: Final Touches
After trimming, use a squeegee to smooth out the film once more, ensuring there are no remaining bubbles or creases. Allow the film to dry completely before cleaning the window again.
Maintenance and Care
To ensure the longevity and effectiveness of your privacy window film, regular maintenance is necessary. Here are some care tips:
- Avoid Harsh Cleaners: Use gentle, non-abrasive cleaners to avoid damaging the film.
- Clean Regularly: Dust and clean the film regularly to maintain its appearance and functionality.
- Inspect Periodically: Check for any signs of wear or peeling and address them promptly to prevent further damage.
Conclusion
Privacy window film is an excellent investment for homeowners seeking to enhance privacy, energy efficiency, and aesthetics. By following these essential steps, you can successfully install privacy window film one way and enjoy its numerous benefits.
Whether you’re an interior designer looking to offer clients stylish and eco-friendly solutions or a homeowner aiming to improve your living space, privacy window film is a versatile and effective choice. Embrace this innovative solution and transform your windows today.