When it comes to enhancing the comfort and energy efficiency of your home, UV blocking window films offer a smart and stylish solution. These films are not only effective in reducing the harmful effects of ultraviolet (UV) rays but also serve as a valuable addition to your home improvement arsenal. In this article, we delve into the science behind UV blocking window films, their benefits, and how they can be an excellent choice for both residential and commercial spaces. Understanding how these films work can help you make informed decisions about protecting your home or office from UV damage while enhancing its aesthetic appeal.
As the awareness of the harmful effects of UV rays grows, more homeowners and businesses are turning to innovative solutions like UV blocking window films. These films offer a blend of functionality and design, making them a versatile choice for any setting. By learning about their properties and applications, you can take proactive steps to safeguard your interiors, improve energy efficiency, and create a more comfortable living or working environment.
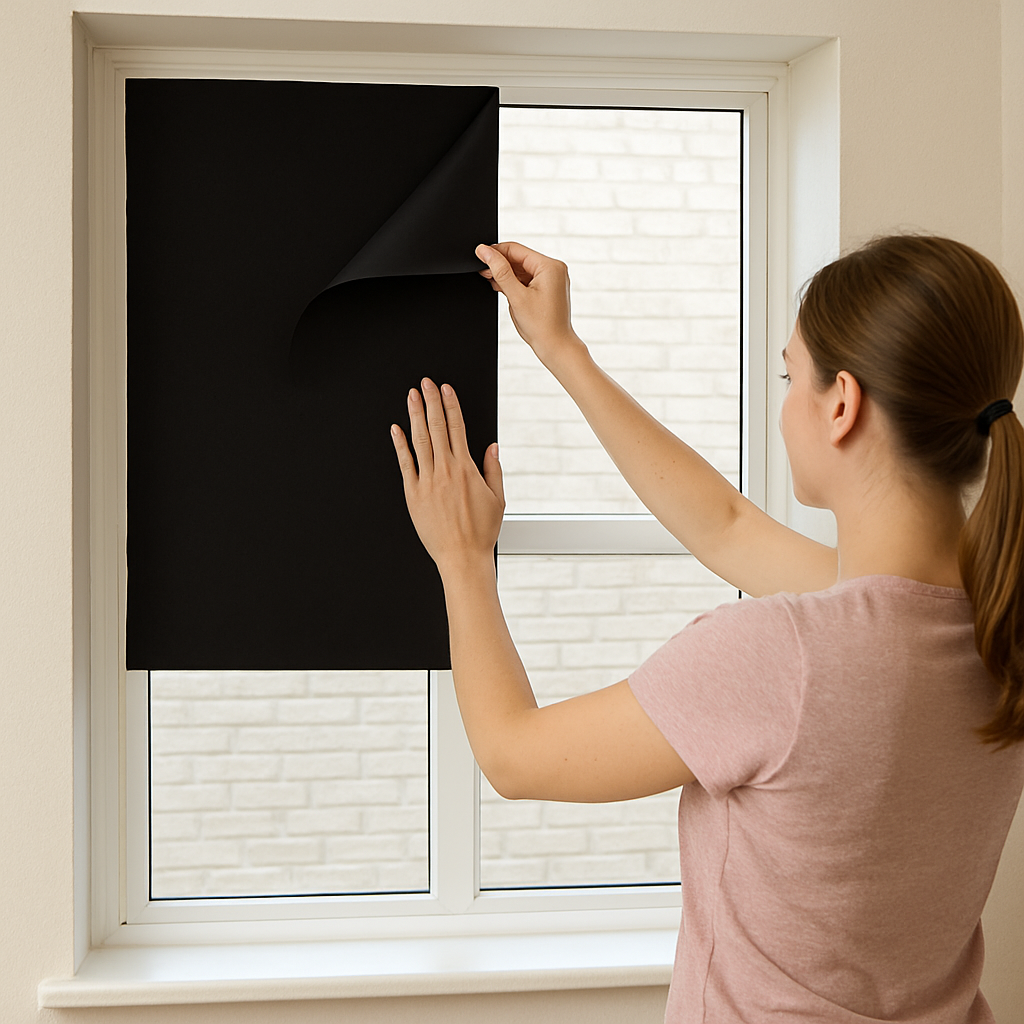
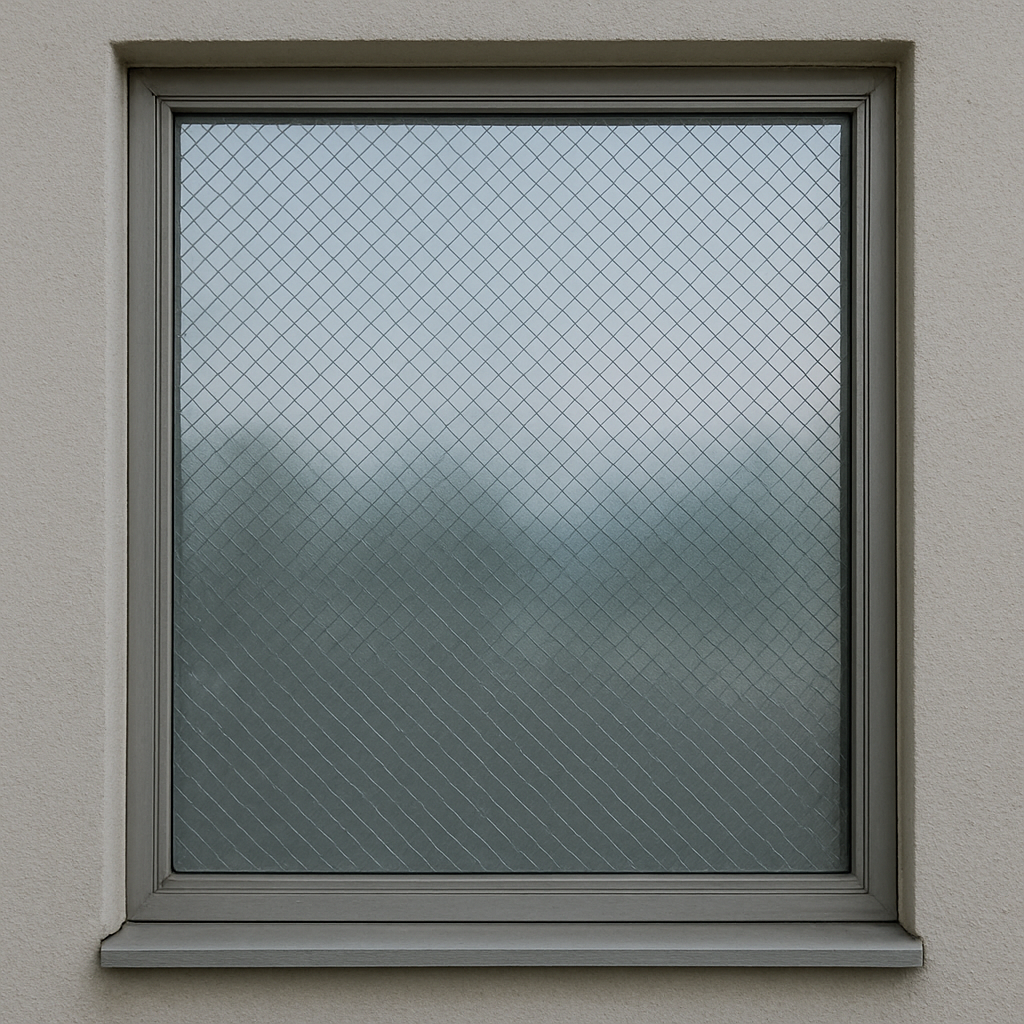
UV blocking window films are thin layers of polyester that can be applied to the interior or exterior surfaces of windows. These films are designed to filter and reflect the sun’s harmful UV rays, which are known to cause fading in furniture, flooring, and artwork. By blocking up to 99% of UV rays, these films help protect your interiors from damage while allowing natural light to enter. The ability to maintain natural lighting while providing protection is a key feature that sets these films apart from other window treatments.
The application of these films is versatile, as they can be used in a variety of settings, including homes, offices, and retail spaces. They offer a practical solution for those looking to enhance privacy, reduce glare, and improve the overall aesthetic of their windows. With different types of films available, each offering unique benefits, there is a suitable option for every need and preference.
The science behind UV blocking window films lies in their special coating. These films are engineered using advanced technology that incorporates metallic or ceramic particles. These particles are adept at filtering out UV radiation and infrared (IR) rays while allowing visible light to pass through. This selective filtering process ensures that your interiors remain bright and welcoming without the negative effects of UV exposure. The technology used in these films has evolved significantly over the years, allowing for greater efficiency and performance.
In addition to UV protection, some films also offer enhanced infrared rejection, which helps in reducing heat transmission through windows. This dual-action capability makes them an ideal choice for those living in warmer climates, as they help maintain a cooler indoor environment. The innovation in film technology continues to advance, providing consumers with more options to meet their specific needs.
- Dyed Films: These films absorb solar energy and are generally less reflective. They are an economical choice for improving privacy and reducing glare. While they may not be as effective as other types in terms of heat rejection, they offer a cost-effective solution for those looking to enhance the appearance and functionality of their windows.
- Metalized Films: These films contain metallic particles that reflect UV rays and heat. They are highly effective in improving energy efficiency by reducing the load on air conditioning systems. The reflective nature of these films also adds a sleek, modern look to windows, making them a popular choice for commercial settings.
- Ceramic Films: Made with ceramic particles, these films offer excellent clarity and superior heat rejection without interfering with electronic signals, making them ideal for modern homes and offices. Ceramic films are known for their durability and long-lasting performance, providing a high level of protection and comfort without compromising on aesthetics.
One of the primary benefits of UV blocking window films is their ability to protect your interiors from UV damage. Prolonged exposure to UV rays can cause fading and deterioration of your furnishings, flooring, and artwork. By installing these films, you can preserve the beauty and longevity of your home decor. This protection is especially valuable for items with sentimental value or significant financial investment, as it helps maintain their condition over time.
In addition to preserving the physical appearance of your interiors, UV blocking films can also contribute to the health and well-being of the occupants. By reducing UV exposure, these films help minimize the risk of skin damage and other health issues associated with prolonged sun exposure. This added layer of protection is particularly beneficial for families with young children or individuals with sensitive skin.
Solar control films, such as UV blocking films, play a significant role in enhancing energy efficiency. By reducing the amount of heat entering through your windows, these films help maintain a comfortable indoor temperature. This, in turn, reduces the need for air conditioning, leading to lower energy bills and a smaller carbon footprint. The reduction in energy consumption not only benefits your wallet but also contributes to environmental sustainability.
The energy savings achieved with these films can be substantial, especially in regions with extreme temperatures. By keeping your home cooler in the summer and warmer in the winter, they help create a more stable and comfortable indoor environment year-round. This consistency in temperature can also prolong the lifespan of your HVAC system, reducing maintenance and replacement costs.
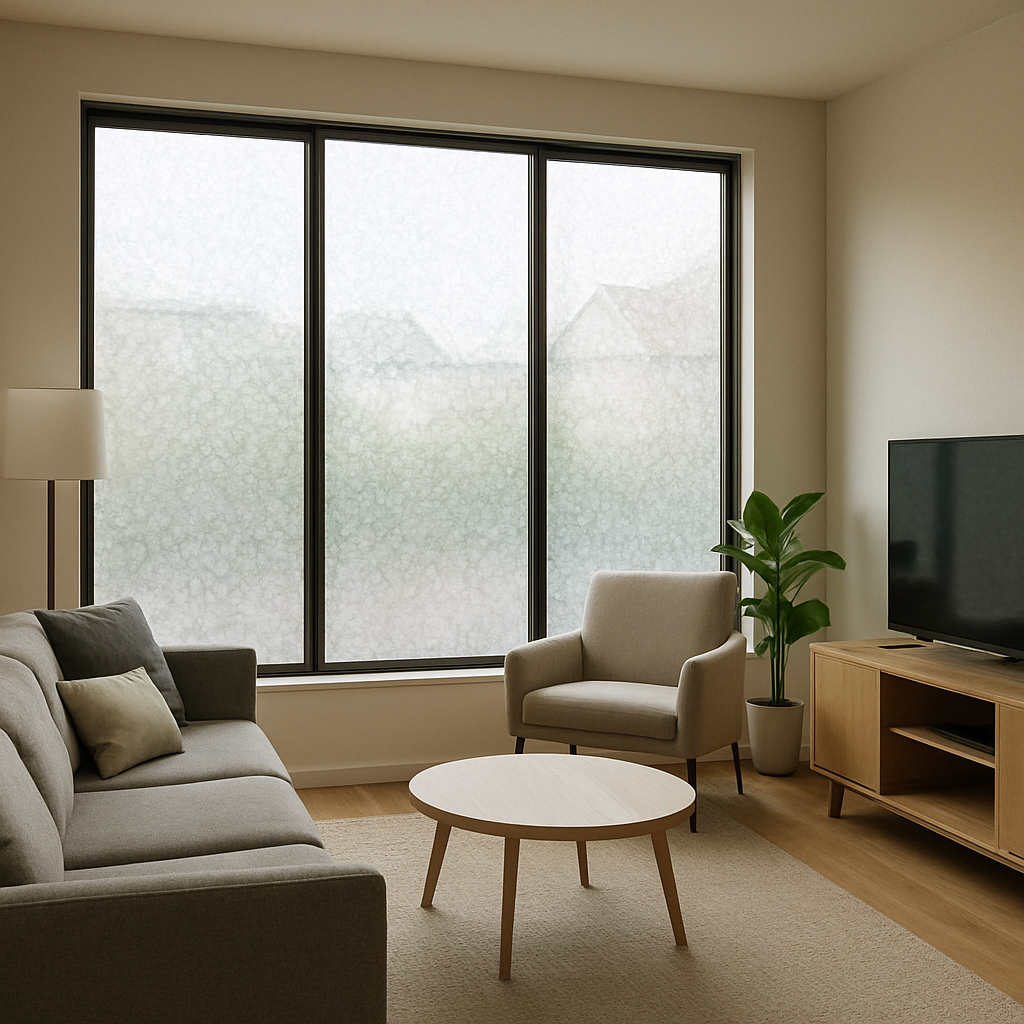
UV window films reduce glare from sunlight, making your living spaces more comfortable and enjoyable. Whether you’re watching TV or working on your computer, these films minimize eye strain and create a more pleasant environment. Additionally, they provide an added layer of privacy by limiting the view from the outside without compromising your view from the inside. This is particularly beneficial for homes or offices located in busy urban areas where privacy can be a concern.
The reduction in glare also enhances the visual appeal of your interiors, as it prevents the harshness of direct sunlight from distorting colors and details. This improved ambiance can make a significant difference in both residential and commercial settings, creating a more inviting and professional atmosphere. The balance of natural light and privacy offered by these films is a key factor in their growing popularity.
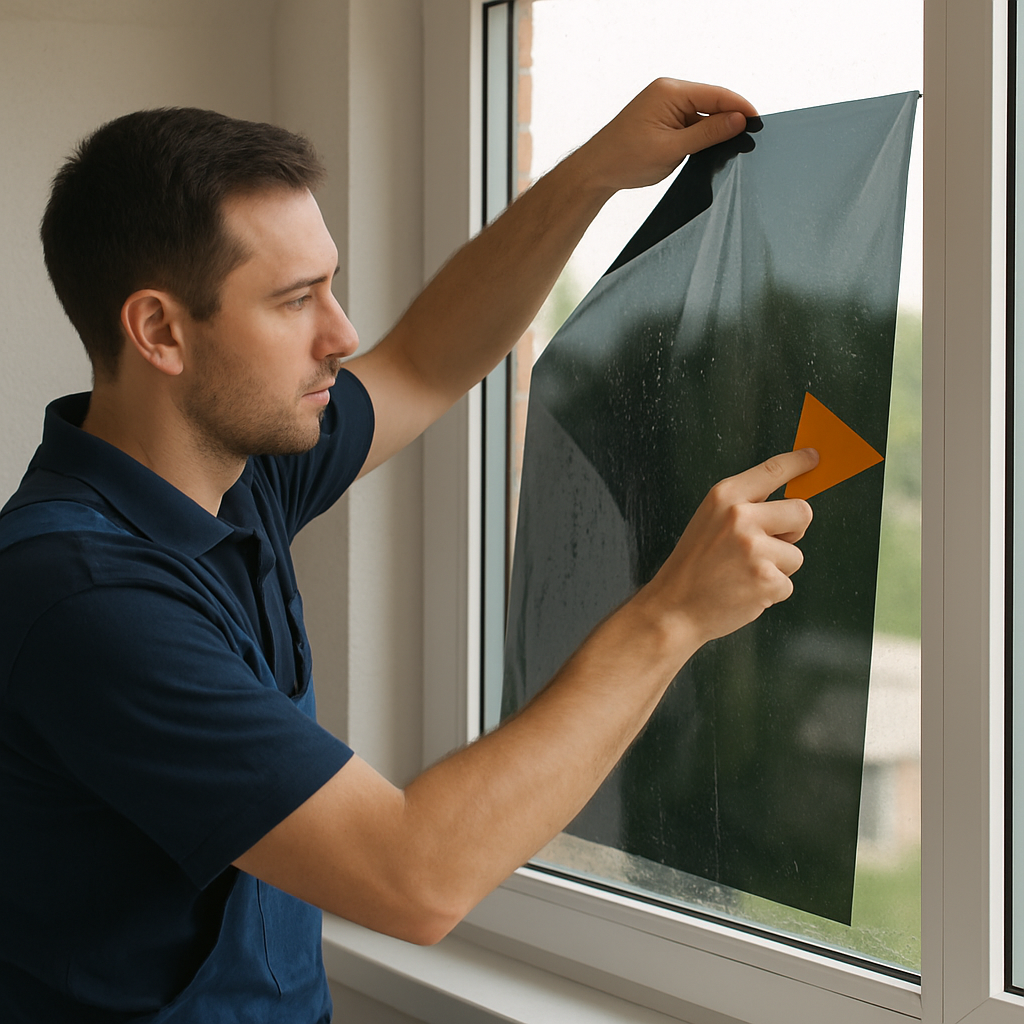
While it may be tempting to install window films yourself, professional installation is recommended to ensure optimal performance and longevity. Trained installers have the expertise and tools to apply the films without bubbles or creases, ensuring a smooth finish. Moreover, professional installation often comes with a warranty, providing peace of mind and protection for your investment. The assurance of quality and reliability makes professional installation a worthwhile consideration for those seeking the best results.
Professional installers can also provide valuable advice on selecting the right type of film for your specific needs. Their experience in working with different window types and conditions allows them to tailor their approach for maximum effectiveness. By choosing professional installation, you can enjoy the full benefits of UV blocking films with confidence in their performance and durability.
For the more adventurous homeowner, DIY installation kits are available. These kits come with step-by-step instructions and all the necessary tools for a successful application. However, it’s important to note that DIY installation may void any manufacturer’s warranty and may not achieve the same level of quality as a professional job. Careful attention to detail and patience are required to ensure a smooth and bubble-free application.
While DIY installation offers a cost-saving opportunity, it also presents challenges that may affect the overall effectiveness of the films. For those confident in their abilities, it can be a rewarding project, but it’s essential to weigh the pros and cons before proceeding. In some cases, consulting with a professional beforehand can provide valuable insights and tips for those choosing to go the DIY route.
When selecting UV blocking window films, consider your specific needs and preferences. Are you looking for maximum heat rejection, enhanced privacy, or improved aesthetics? Different films offer varying levels of performance, so it’s essential to choose one that aligns with your goals. Taking the time to assess your priorities can help you make an informed decision that meets your expectations and enhances your space.
Understanding the specific challenges and requirements of your environment is crucial in selecting the right film. Factors such as climate, window orientation, and the amount of direct sunlight received can all influence your choice. By considering these elements, you can select a film that provides the best balance of protection, comfort, and aesthetics.
Not all window films are created equal. Look for films that are backed by reputable manufacturers and come with a warranty. High-quality films will have better durability, clarity, and performance compared to cheaper alternatives. Investing in a quality product ensures that you receive the full benefits of UV protection and energy efficiency over the long term.
Researching product reviews and seeking recommendations from trusted sources can provide valuable insights into the quality and performance of different films. By prioritizing quality, you can avoid the pitfalls of substandard products that may fail to deliver on their promises. A well-chosen film can offer peace of mind and satisfaction for years to come.
If you’re unsure which film is right for your home, consult with a window film specialist. They can assess your windows, discuss your needs, and recommend the best solution for your space. Their expertise can help you navigate the various options and make a decision that maximizes the benefits of UV blocking technology. An expert consultation provides personalized guidance and ensures that your investment meets your specific requirements.
Working with a specialist also offers the opportunity to explore innovative solutions and custom options that may not be widely available. Their knowledge of the latest advancements in film technology can open up new possibilities for enhancing your space. By leveraging their expertise, you can achieve the best possible outcome for your home or business.
In residential settings, UV blocking window films are a popular choice for homeowners looking to protect their interiors while maintaining a bright and open feel. For instance, a family living in a sun-drenched home in Arizona might opt for ceramic films to keep their living spaces cool and protect their expensive leather furniture from fading. This choice not only enhances comfort but also preserves the value of their belongings, making it a wise investment.
Similarly, homeowners in coastal areas may choose UV films to protect against the harsh effects of sun exposure on their interiors. The films help maintain the vibrant colors of their furnishings and prevent the deterioration of materials, ensuring a long-lasting and beautiful home environment. These real-world applications highlight the versatility and effectiveness of UV blocking window films in addressing a variety of needs and preferences.
In commercial spaces, such as offices and retail stores, solar control films help create a comfortable environment for employees and customers. An office building in New York City might install metalized films to reduce glare on computer screens, enhance privacy, and improve energy efficiency. The films contribute to a more productive and pleasant workspace, benefiting both employees and clients.
Retail stores can also benefit from the application of UV blocking films, as they help protect merchandise from fading and damage caused by prolonged sun exposure. By maintaining a comfortable shopping environment, retailers can enhance the customer experience and increase sales potential. The strategic use of window films in commercial settings demonstrates their value in enhancing both functionality and aesthetics.
UV blocking window films offer a practical and effective solution for enhancing your home’s comfort, energy efficiency, and aesthetics. By understanding the science behind these films and choosing the right type for your needs, you can enjoy the benefits of reduced UV damage, lower energy costs, and improved privacy. Whether you’re an interior designer seeking eco-friendly solutions for your clients or a homeowner looking to protect your investment, UV blocking window films are a smart choice for any space.
The versatility and effectiveness of these films make them an appealing option for a wide range of applications, from residential homes to commercial buildings. As technology continues to advance, the capabilities of UV blocking films will only improve, offering even greater benefits in the future. By embracing this innovative solution, you can create a more sustainable, comfortable, and visually appealing environment for yourself and those around you.
::contentReference[oaicite:0]{index=0}