When it comes to enhancing privacy without sacrificing natural light, mirror privacy window film is an excellent solution. This innovative product can transform any space, offering benefits that go beyond privacy. Whether you’re an interior designer seeking stylish and efficient solutions for your clients or a homeowner looking to upgrade your space, this guide will provide you with everything you need to know about mirror privacy window film.
Mirror privacy window film is a specialized film applied to glass surfaces that provides a mirrored appearance on one side. This film allows you to see out while preventing others from seeing in during daylight. It is a cost-effective and versatile solution for enhancing privacy and comfort in both residential and commercial spaces.
How Does it Work?
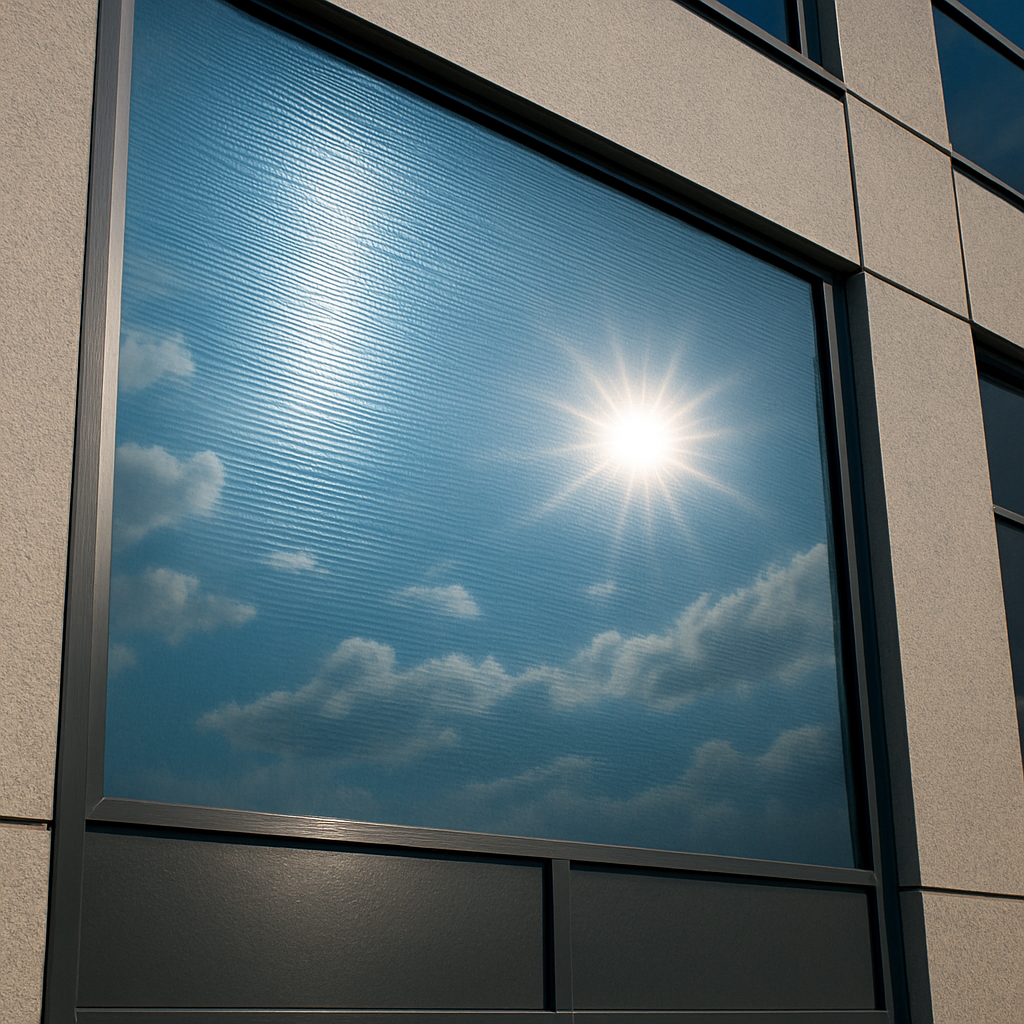
The film works by reflecting light on the side that receives more illumination, creating a mirrored effect. This is why it’s often referred to as “one-way mirror film.” During the day, the outside of the window becomes reflective, while the inside remains transparent, allowing you to enjoy natural light and an unobstructed view.
Benefits of Using Mirror Privacy Window Film
Enhanced Privacy
The primary benefit of mirror privacy window film is, of course, privacy. It serves as an excellent deterrent against prying eyes, ensuring that your indoor activities remain private, especially during the day.
Energy Efficiency
Mirror privacy window film can also contribute to energy savings. By reflecting a significant portion of sunlight, it helps reduce heat gain during the summer months. This can lead to lower cooling costs and a more comfortable indoor environment. According to the U.S. Department of Energy, window treatments that reduce solar heat gain can significantly improve overall home energy efficiency.
UV Protection
In addition to privacy and energy efficiency, these films offer protection against harmful ultraviolet (UV) rays. By blocking up to 99% of UV radiation, mirror privacy window film helps to protect your furnishings, flooring, and artwork from fading and damage. The Environmental Protection Agency (EPA) explains how prolonged UV exposure contributes to material deterioration and health risks.
Aesthetic Appeal
Available in various shades and reflectivity levels, mirror privacy window film can be tailored to suit any design aesthetic. It enhances the look of your windows, giving them a sleek, modern appearance that complements a wide range of interior styles.
Cost-Effective Solution
Compared to other privacy solutions like blinds or curtains, mirror privacy window film is relatively inexpensive. It requires no maintenance and has a long lifespan, making it a cost-effective investment for both homeowners and businesses.
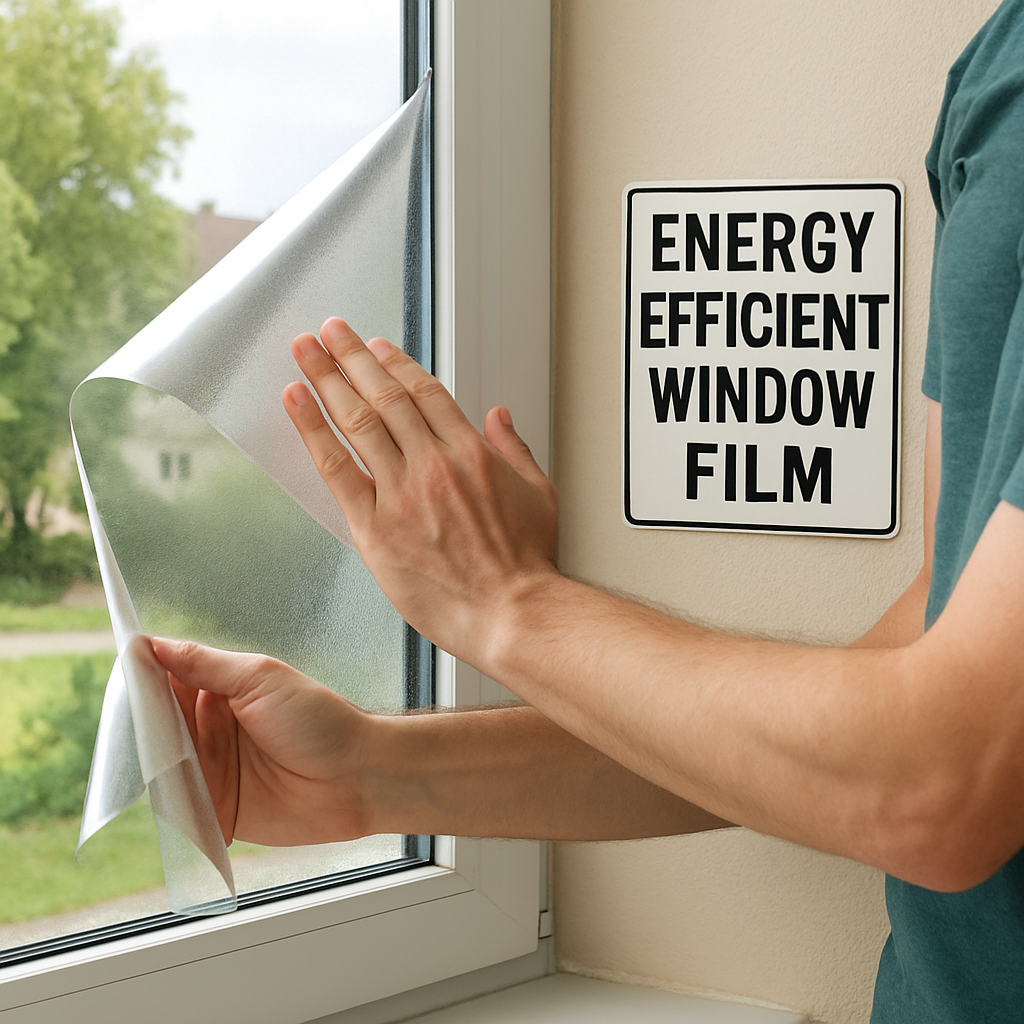
Installation Process
DIY Installation vs. Professional Installation
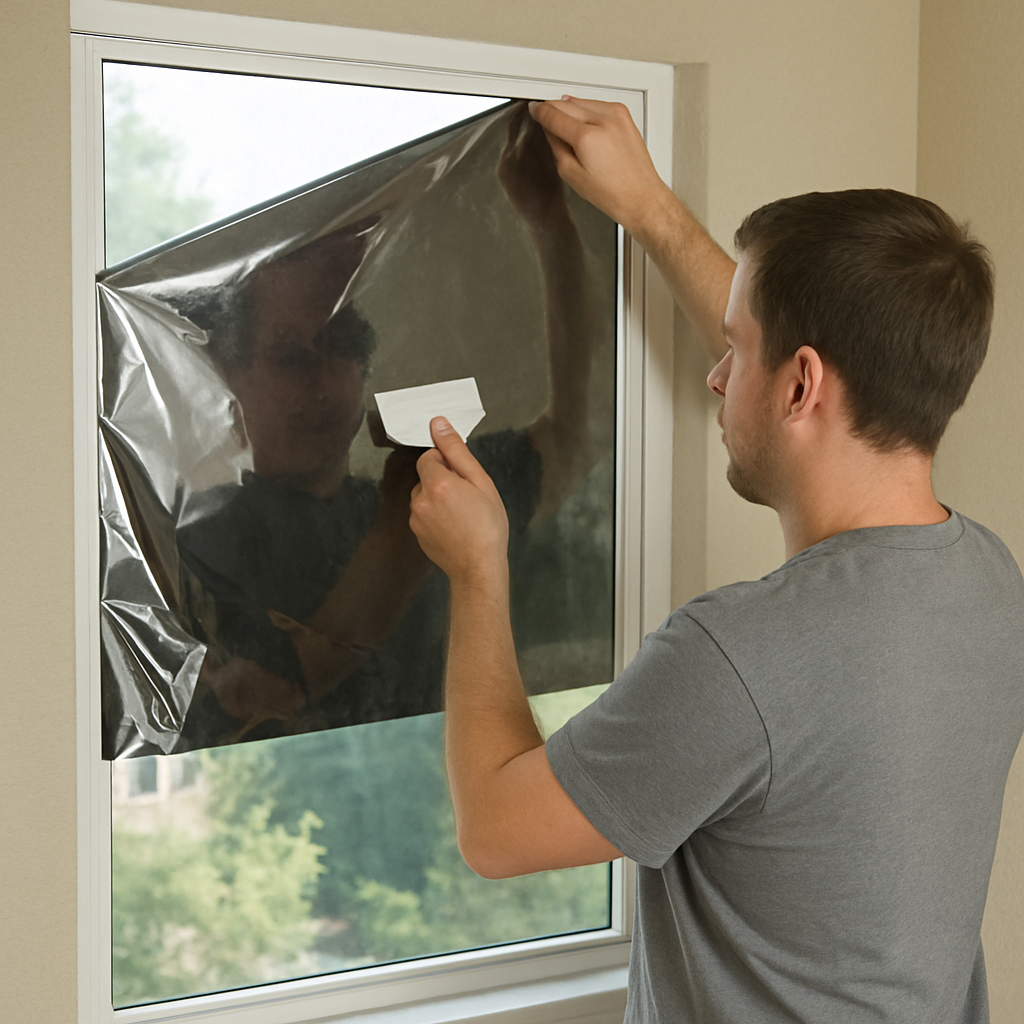
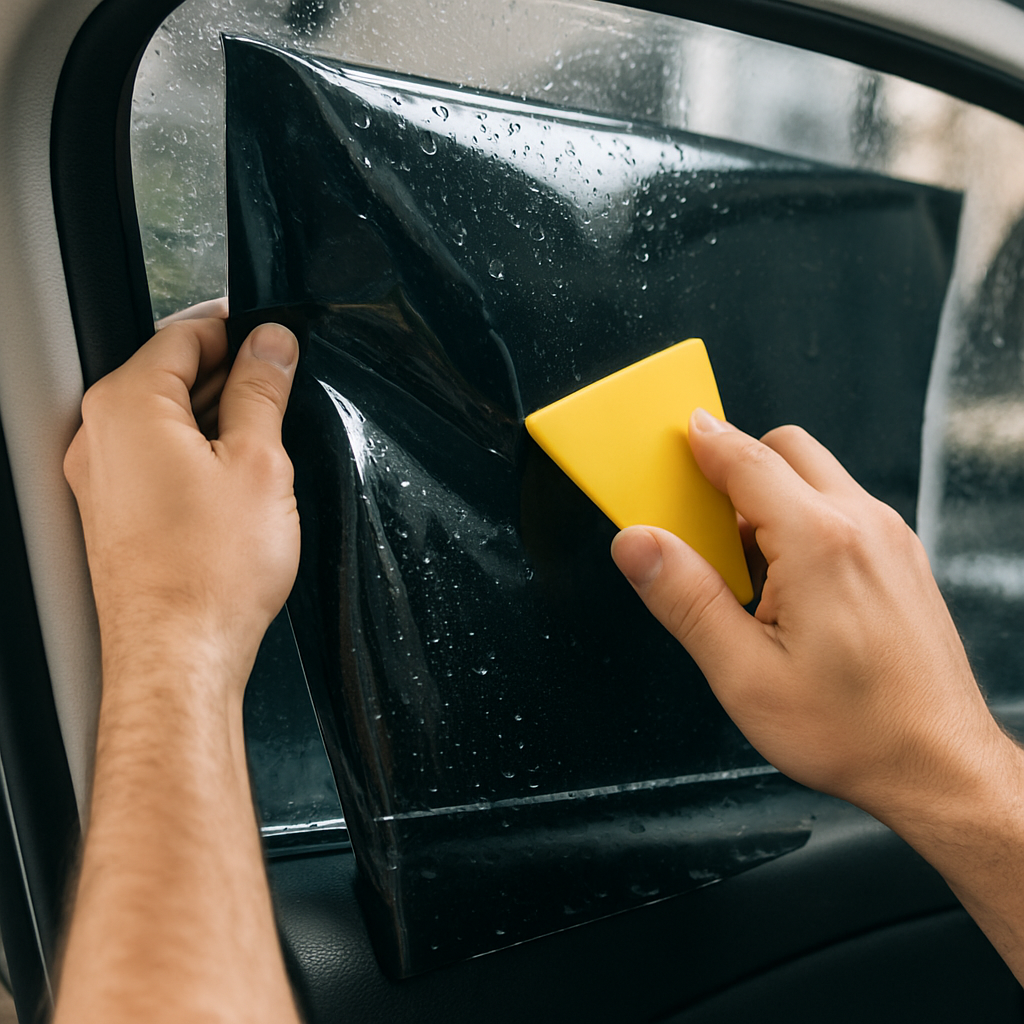
While some may choose to install mirror privacy window film themselves, it is often best to hire a professional. Professional installation ensures that the film is applied smoothly and without bubbles, which can affect both appearance and performance.
Steps for Professional Installation
- Consultation: A professional will assess your needs and recommend the best film based on your privacy and design preferences.
- Preparation: The window is thoroughly cleaned to ensure a smooth surface for the film.
- Application: The film is cut to size and carefully applied to the window using a squeegee to remove any air bubbles.
- Final Inspection: After application, the film is inspected for any imperfections to ensure optimal performance and appearance.
Considerations Before Installing Mirror Privacy Window Film

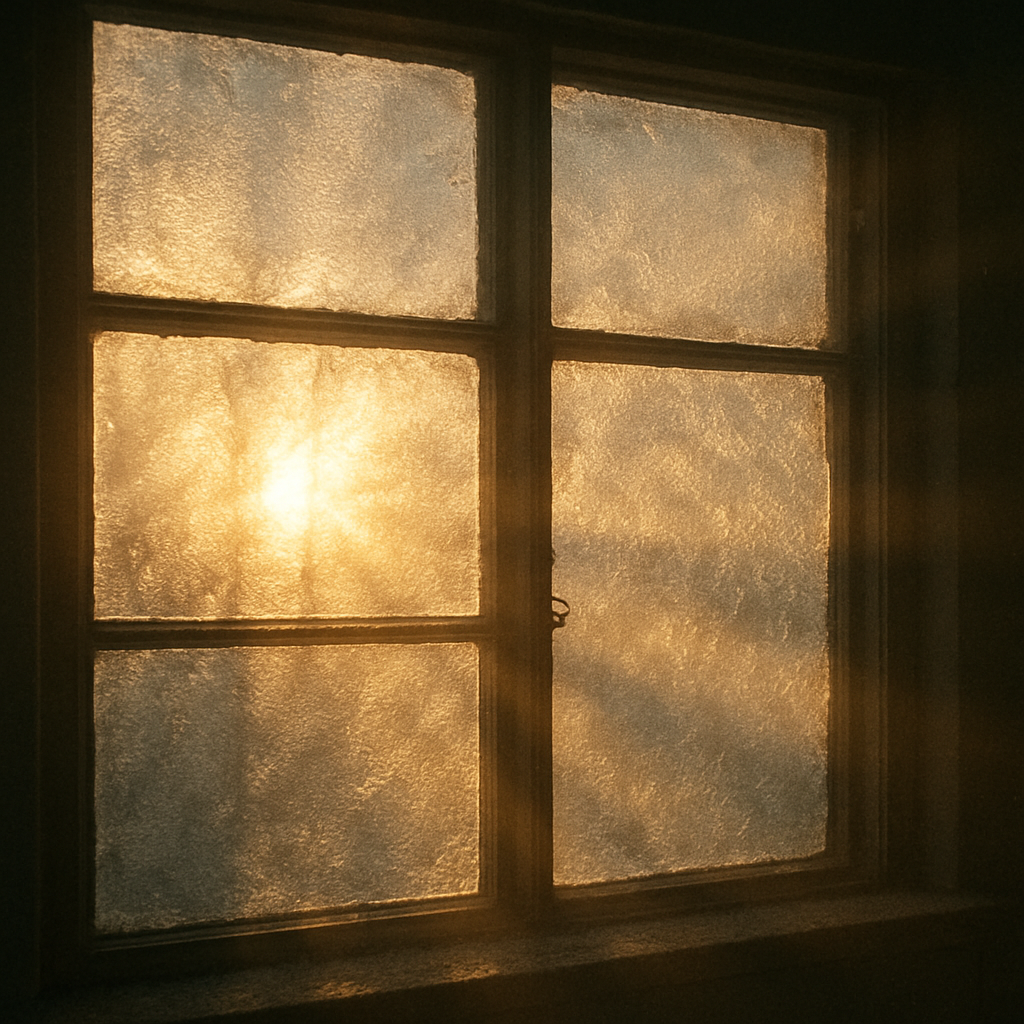
by Tavy (https://unsplash.com/@tavy)
Day and Night Privacy
It’s important to note that mirror privacy window film is most effective during the day. At night, when interior lights are on, the effect is reversed, and people outside may see in. To maintain privacy at night, additional window treatments such as blinds or curtains may be necessary.
Building Codes and Regulations
Before installation, it’s essential to check local building codes and regulations, particularly for commercial buildings. Some areas may have specific guidelines regarding the use of reflective window films.
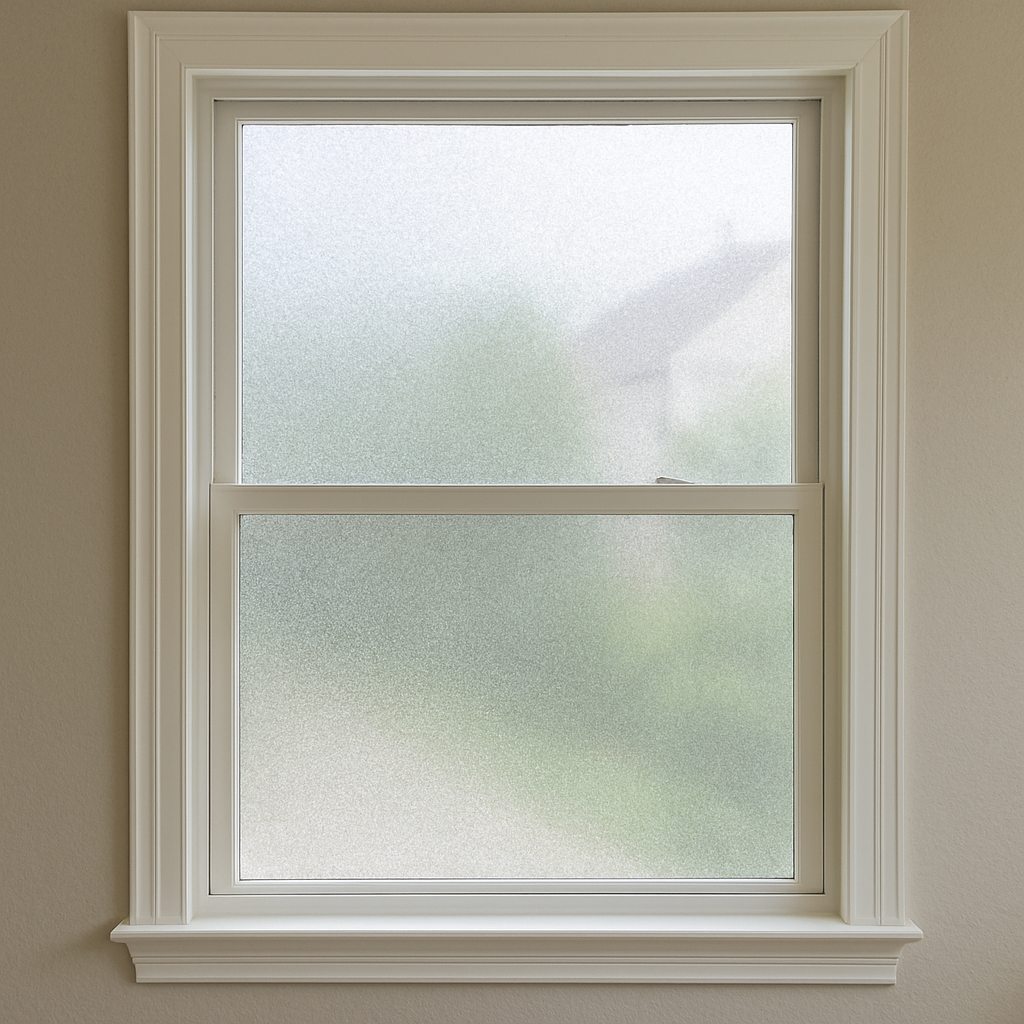
Compatibility with Window Types
While mirror privacy window film is suitable for most types of windows, it may not be compatible with certain low-E or treated glass. Consulting with a professional can help determine the best solution for your specific windows.
How to Maintain Your Mirror Privacy Window Film
Cleaning
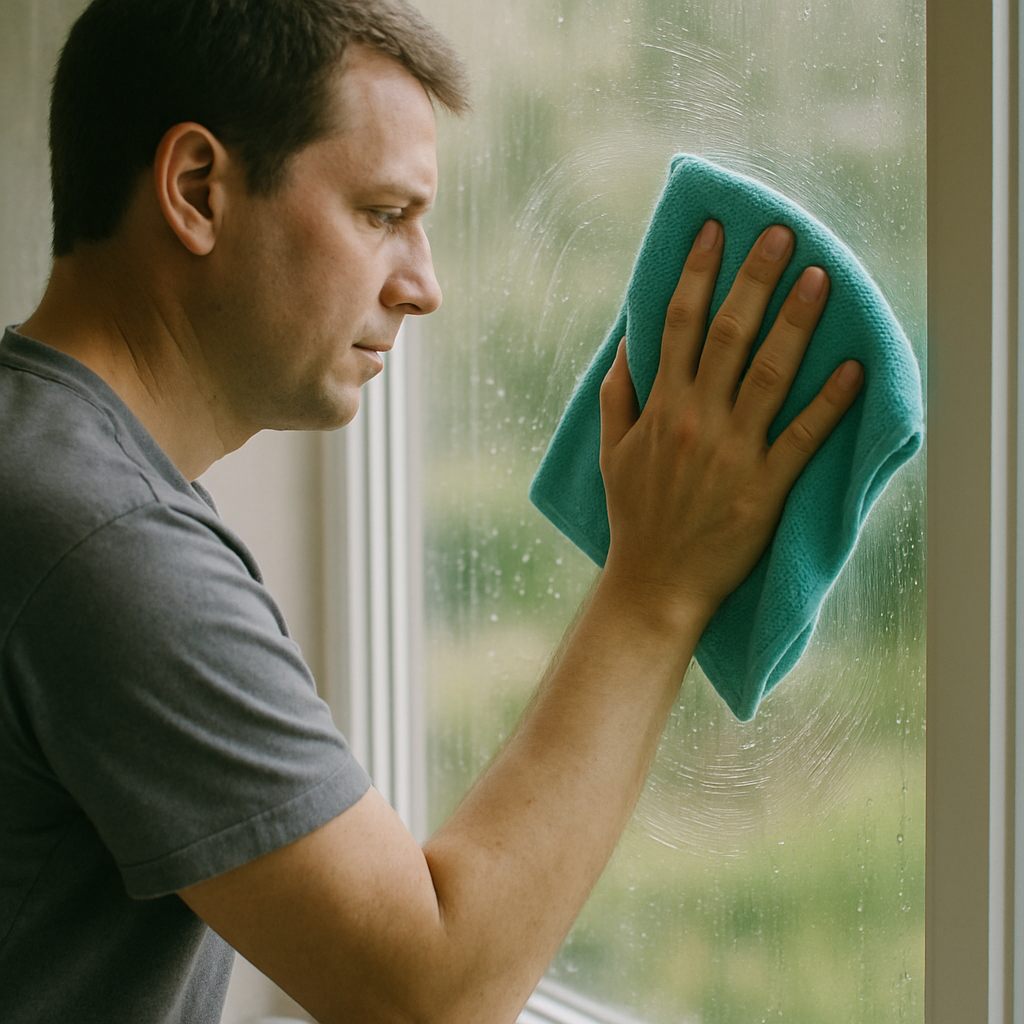
Cleaning your mirror privacy window film is straightforward. Use a soft cloth or sponge with a mild, non-abrasive cleaning solution. Avoid using harsh chemicals or abrasive materials that could scratch or damage the film.
Regular Inspections
Periodically inspect the film for any signs of wear or damage. If you notice any peeling or bubbling, it may be time to replace the film or consult with a professional for repairs.
Where to Buy Mirror Privacy Window Film
Mirror privacy window film is available from a variety of retailers, both online and in-store. When purchasing, consider the quality of the film and the reputation of the manufacturer. High-quality films will offer better performance and durability.
Recommended Brands
- 3M: Known for their high-performance window films, 3M offers a range of options with varying levels of reflectivity and UV protection.
- Gila: Gila films are popular for their ease of installation and effectiveness in providing privacy and energy savings.
- Solar Gard: Solar Gard offers premium films that are designed to enhance privacy while also providing excellent UV protection.
Conclusion
Mirror privacy window film is a versatile solution that addresses multiple concerns, from privacy to energy efficiency. With its aesthetic appeal and functional benefits, it’s an excellent choice for anyone looking to improve their home or office space. Whether you opt for DIY installation or seek professional help, this guide should serve as a comprehensive resource to help you make an informed decision.
By understanding the key benefits and considerations, you can ensure that your investment in mirror privacy window film pays off in enhanced comfort, style, and savings.