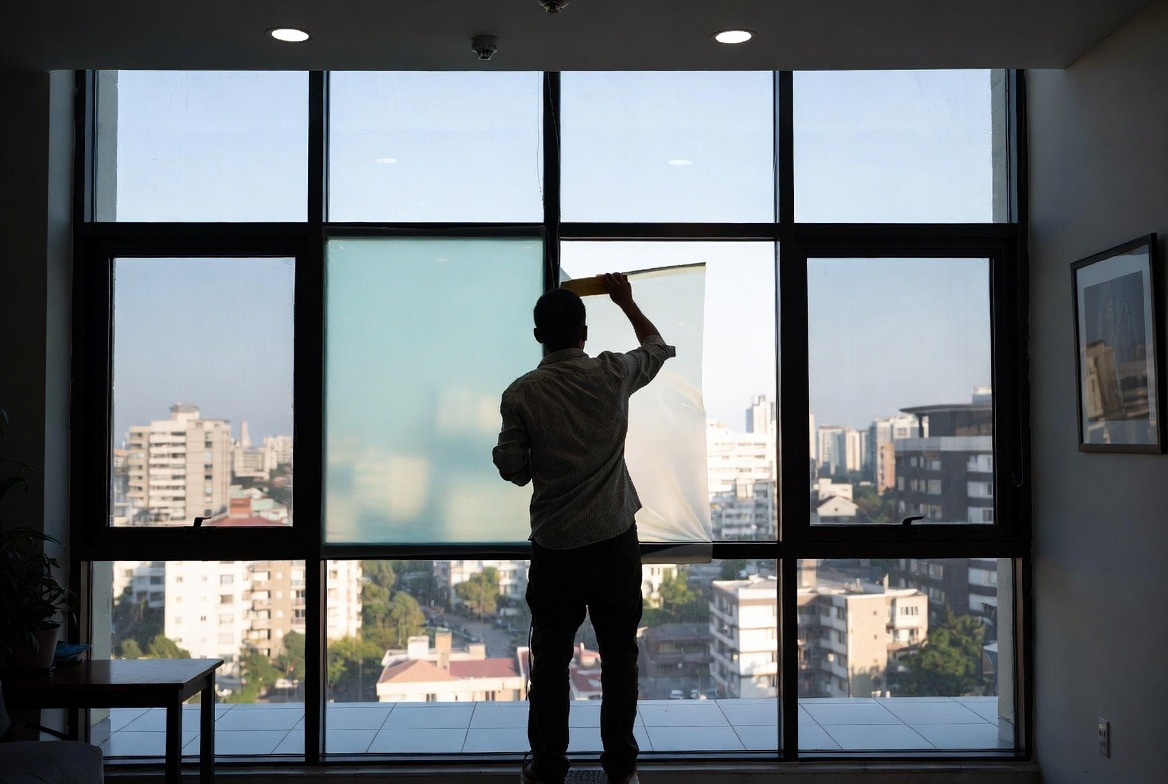
When it comes to enhancing your living space, window film offers a unique blend of aesthetic appeal and functional benefits. This versatile home improvement solution provides energy efficiency, UV protection, and privacy while adding a touch of elegance to your interiors. However, if you’re a plant enthusiast, you might wonder how window film affects your beloved houseplants. Fear not; this guide explores the compatibility between window film and houseplants, ensuring that your indoor garden thrives while you enjoy the benefits of window film. By understanding the relationship between window films and houseplants, you can make informed choices that support both a comfortable home environment and a flourishing indoor garden.
Before diving into the compatibility with houseplants, it’s important to explore the advantages of installing window film in your home. Window film is a versatile solution that provides several key benefits, making it a popular choice for homeowners looking to enhance their living spaces.
- Energy Efficiency: One of the standout benefits of window film is its ability to regulate indoor temperatures. By reducing heat gain during the sweltering summer months and retaining warmth in the chilly winter season, window film helps create a more energy-efficient home. This not only leads to reduced energy bills but also contributes to a more comfortable and consistent living environment throughout the year.
- UV Protection: Window film excels at blocking up to 99% of harmful UV rays, which can cause significant damage to your interiors over time. By protecting your furniture, flooring, and yes, even your plants from fading and degradation, window film extends the lifespan and preserves the beauty of your home decor. This UV protection is crucial for maintaining the integrity of your indoor environment while safeguarding your cherished possessions.
- Glare Reduction: In addition to energy efficiency and UV protection, window film effectively minimizes glare. This creates a more comfortable space for activities like reading, working on your computer, or watching TV, where excessive glare can be a nuisance. By softening harsh sunlight, window film enhances your daily activities, providing a more enjoyable and productive living environment.
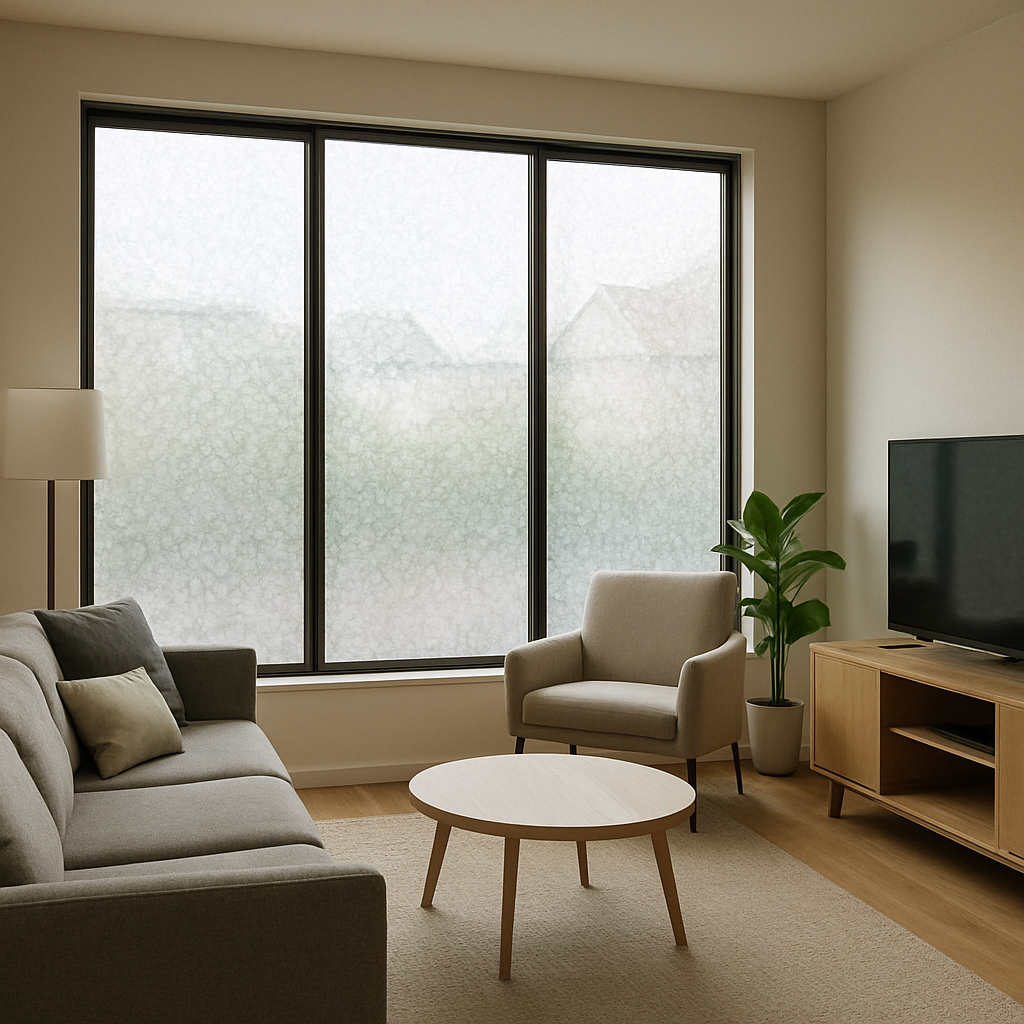
- Privacy and Security: For those seeking enhanced privacy, decorative and frosted window films offer a stylish solution that obscures the view from outside while allowing natural light to filter through. Furthermore, thicker security films provide added protection by preventing glass shattering during accidental breakage, ensuring the safety of your home and its occupants.
- Aesthetic Appeal: Available in various styles, patterns, and tints, window film can complement any interior design scheme. Whether you prefer a modern, sleek look or a more traditional aesthetic, window film adds a touch of elegance and sophistication to your home. It allows you to personalize your space while enjoying the functional benefits it provides.
Window Film and Houseplants: A Harmonious Pair
Now, let’s address the question on every plant lover’s mind: “Will window film harm my houseplants?” The good news is that window film and houseplants can coexist harmoniously if you understand their needs and make informed choices. By carefully considering the type of window film and the specific needs of your plants, you can create an environment where both can thrive.
How Window Film Affects Light
Houseplants, like all living things, rely on sunlight for growth and photosynthesis. Window film alters the intensity and quality of sunlight entering your home, which can impact your plants. However, this doesn’t mean your plants will suffer. In fact, window film can create a more controlled environment that benefits certain types of houseplants. By diffusing harsh sunlight, window film can prevent the scorching of delicate leaves and provide a more consistent light source throughout the day.
Light Intensity and Window Film
Most window films are designed to reduce light intensity, which can be beneficial for plants that thrive in indirect light. For instance, ferns, peace lilies, and snake plants prefer lower light conditions and can flourish with the presence of window film. These plants are adapted to environments with filtered light, and window film can simulate such conditions, reducing the risk of overexposure to direct sunlight.
Light Spectrum and Plant Growth
Window film also modifies the light spectrum. While it blocks harmful UV rays, it still allows the visible light spectrum that plants use for photosynthesis to pass through. Therefore, your plants will continue to receive the light they need for healthy growth. By maintaining the quality of light essential for photosynthesis, window film supports the metabolic processes that are vital for plant vitality and development.
Choosing the Right Window Film for Your Plants
Selecting the right window film is crucial for maintaining a healthy indoor garden. Consider the following factors to ensure your plants receive the appropriate conditions for growth:
- Visible Light Transmission (VLT): Look for films with a high VLT percentage, allowing more natural light to enter your home. This is especially important for light-loving plants like succulents and orchids, which require ample sunlight to thrive. A higher VLT ensures that these plants receive the necessary light levels for optimal growth and flowering.
- UV Blocking: Ensure the film blocks harmful UV rays to protect your plants from damage while preserving the visible light spectrum they need. By filtering out damaging UV radiation, window film helps prevent leaf burn and other adverse effects associated with excessive UV exposure.
- Reflective Films: Be cautious with highly reflective films, as they can create a harsh environment for plants by reflecting too much light away. While reflective films can be effective for reducing heat gain, they may not be suitable for all plant types. It’s essential to balance reflection with the natural light requirements of your indoor garden.
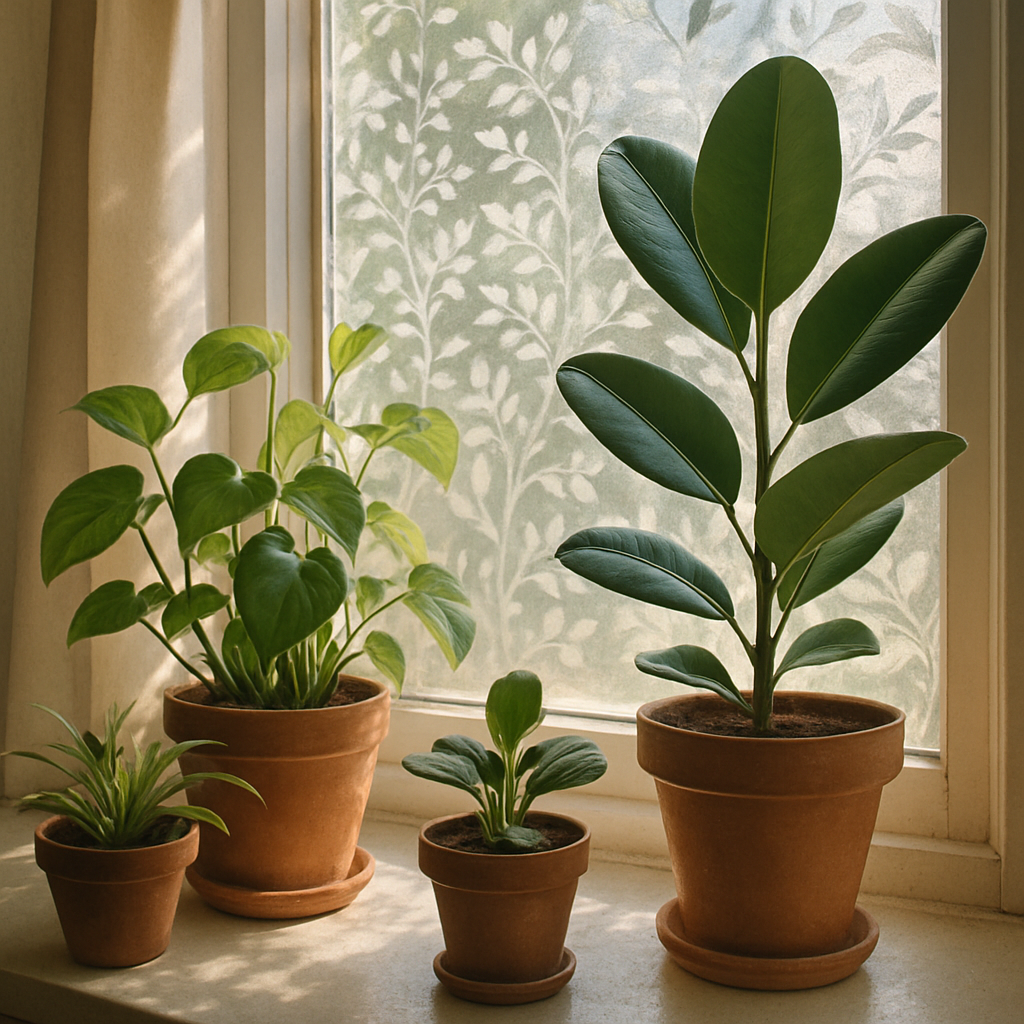
Tips for Indoor Plant Care with Window Film

by David Schultz (https://unsplash.com/@davidschultz)
To ensure your houseplants flourish in their window film-enhanced environment, follow these practical care tips. By adapting your plant care routine to accommodate the presence of window film, you can maintain a vibrant and healthy indoor garden.
Monitor Plant Health
Regularly check your plants for signs of stress, such as yellowing leaves, wilting, or stunted growth. Adjust their location or care routine as needed to address any issues promptly. By being attentive to your plants’ needs, you can prevent potential problems and ensure their continued well-being in a modified light environment.
Adjust Plant Placement
If you notice your plants aren’t receiving enough light, try repositioning them closer to the window or using a plant light to supplement natural sunlight. Adjusting plant placement can help you optimize light exposure, especially for species that require specific light conditions to thrive.
Water Wisely
With reduced light, your plants may require less water. Be mindful of overwatering, and adjust your watering schedule based on the specific needs of each plant species. Monitoring soil moisture levels and understanding the water requirements of your plants can prevent root rot and other water-related issues.
Rotate Plants
Rotate your plants periodically to ensure even light exposure on all sides. This prevents uneven growth and keeps your plants looking their best. Regular rotation encourages balanced development and prevents one-sided growth, maintaining an attractive and symmetrical appearance.
Real-Life Success Stories
To illustrate the compatibility of window film and houseplants, let’s look at a couple of real-life examples. These success stories demonstrate how thoughtful application of window film can enhance both the aesthetic and functional aspects of indoor gardening.
- The Urban Jungle Apartment: In a small city apartment with limited natural light, the installation of window film reduced glare and heat, creating an ideal environment for shade-loving plants. The owner reported healthier foliage and improved plant growth within weeks. By carefully selecting the right window film, the apartment became a lush, urban oasis, providing a refreshing contrast to the bustling cityscape.
- The Sunroom Sanctuary: A homeowner transformed their sunroom into a vibrant indoor garden by using window film to manage light intensity. The film allowed diffused sunlight to nourish a wide variety of plants, from ferns to flowering orchids. This transformation highlighted the versatility of window film in creating optimal conditions for diverse plant species, resulting in a flourishing and visually stunning plant haven.
Conclusion
Window film and houseplants can indeed form a compatible pair, enhancing your home’s comfort and aesthetic appeal while supporting a thriving indoor garden. By understanding how window film impacts light and selecting the right type for your plants, you can create a harmonious environment that benefits both your living space and your greenery. This synergy between technology and nature allows you to enjoy the advantages of modern home improvements while nurturing your love for plants.
Whether you’re an interior designer seeking eco-friendly solutions or a homeowner looking to improve energy efficiency, window film offers a practical and stylish option that complements your indoor garden. Embrace the synergy between window film and houseplants, and enjoy a more beautiful, sustainable home. With the right balance, your living space can become a sanctuary that reflects your personality and commitment to both innovation and nature.